Welcome to the getting started guide for Hippo Video. This article gives you a quick overview of the features and their purpose for having it. This way, you can quickly scan the screen in just a few minutes.
Let’s get started quickly,
As soon as you log in to Hippo Video as a new user, you’ll be redirected to this getting started screen.
Note: Features will be listed based on the plan chosen.
Navigations:
Left Navigation Bar: A set of buttons or images in a column serves as a control point to link the user to various sections on a website.

+Create button (top right): Let's record a video using Camera Only, Screen + Camera, and Screen Only; import video, import document/image, create video from images, and create videos using video flows.

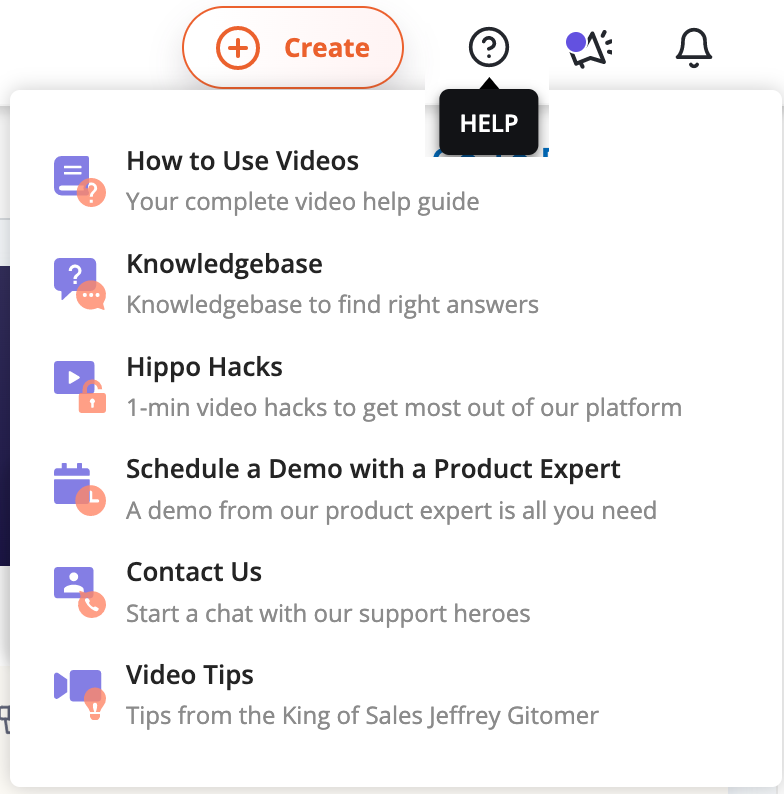
Help icon (at the top right): Clicking on this icon will open up a pop in which you’ll find options to view how to use videos, a knowledge base (help articles), hippo hacks, a link to schedule a demo with the product expert, chat with the support team and video tips.

Announcements icon (at the top right): Clicking on this icon will show all the new features and integrations which is released.

Notifications icon (at the top right): All the information and real-time updates about your video fall under notifications: as soon as your email is opened; watched for the first time, watched multiple times by a unique user, watched multiple times by a different user, and replied with video.
Dashboard (from left nav bar): The Hippo Video’s dashboard is composed of widgets that provide snapshots and visualizations of your data, allowing you to quickly view and compare different figures.
Sales Dashboard - To get more information on the sales dashboard
Marketing Dashboard - To get more information on the marketing dashboard


